“It is not the loudest shooter who wins the skirmish, but the quietest shadow in the right place at the right time.”
— From the Society’s Tactical Primer, Vol. II
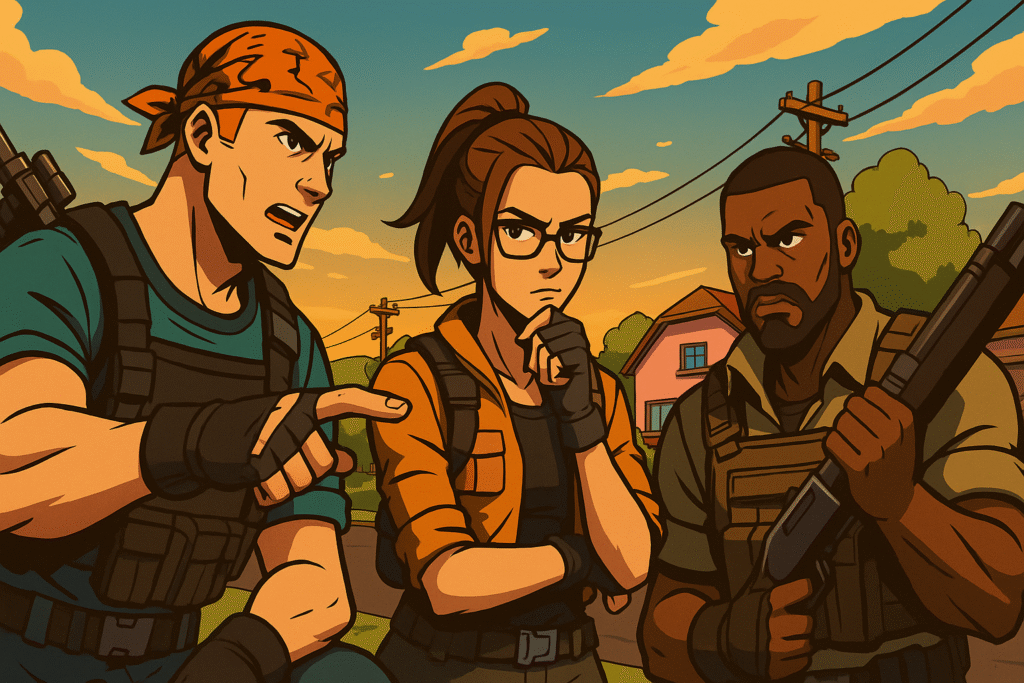
In the grand game of Zero Build Fortnite, where walls do not shield and towers cannot be conjured, positioning is not merely important—it is everything. Victory here is rarely about brute reflex. It is about foresight, map knowledge, and the precise art of being somewhere better than your enemy before they realize you’re even there.
This is your primer on how to win fights before the first shot is fired—by standing not in the open, but in opportunity.
🎯 The Three Tenets of Positional Dominance
Before we dive into slopes and sightlines, understand this: good positioning is a compound advantage. When you hold the superior spot, you often gain:
- First Shot Opportunity (surprise and control)
- Cover Control (natural or deployable)
- Vision Advantage (knowledge of movement and rotations)
In Zero Build, you cannot out-build a mistake. So you must avoid making one.
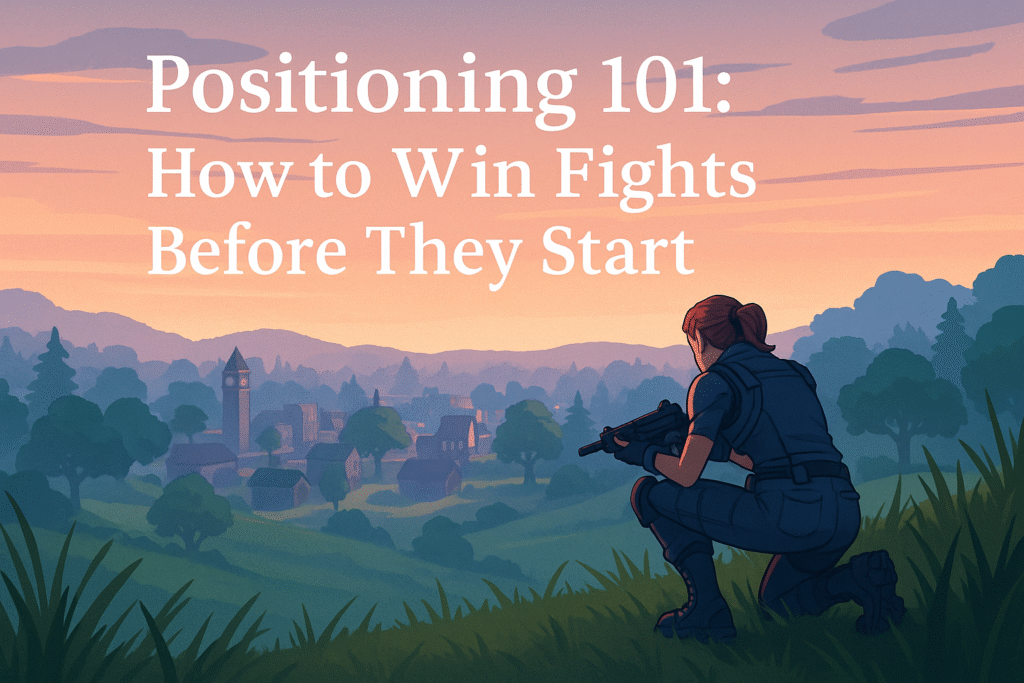
🗺️ 1. High Ground is Not Optional—It’s Dominance
Yes, yes. We’ve all heard it. “High ground wins fights.” But in Zero Build, it’s no longer a cliché—it’s gospel. The ability to see more and control approach angles without constructing a stairway to heaven is what separates the surviving from the spectating.
- Sniper’s Peak: Use elevation for early beams. Players climbing up to you are vulnerable—especially if you bait them into exposed slopes.
- DMR Discipline: High ground makes weapons like the Red-Eye or DMR exceptionally powerful—let you tag rotating players with impunity.
- Vertical Cutoffs: Watch where hills “cut off” access routes. Control those, and you control enemy movement.
If your rotation leaves you at the bottom of a ridge, recalculate. It’s often better to flank and ascend from the side than to engage from below.
🌾 2. Cover Is the King’s Cloak
You don’t need to build to defend yourself. You need to know where to stand.
- Natural Cover: Trees, rocks, vehicles, ledges—memorize your map’s cover zones. The best Zero Build players treat these objects like mobile bunkers.
- Deployable Cover: Never underestimate a Portable Bunker or a Bush Bomb. They’re your only “builds”—and when timed well, they’re as good as one.
- Peeking Practices: Use left-hand peeks and crouch-popping from cover edges. Standing in front of a tree is not cover—using its side for a quick jiggle peek is.
“Cover isn’t where you hide. It’s where you fight from.”
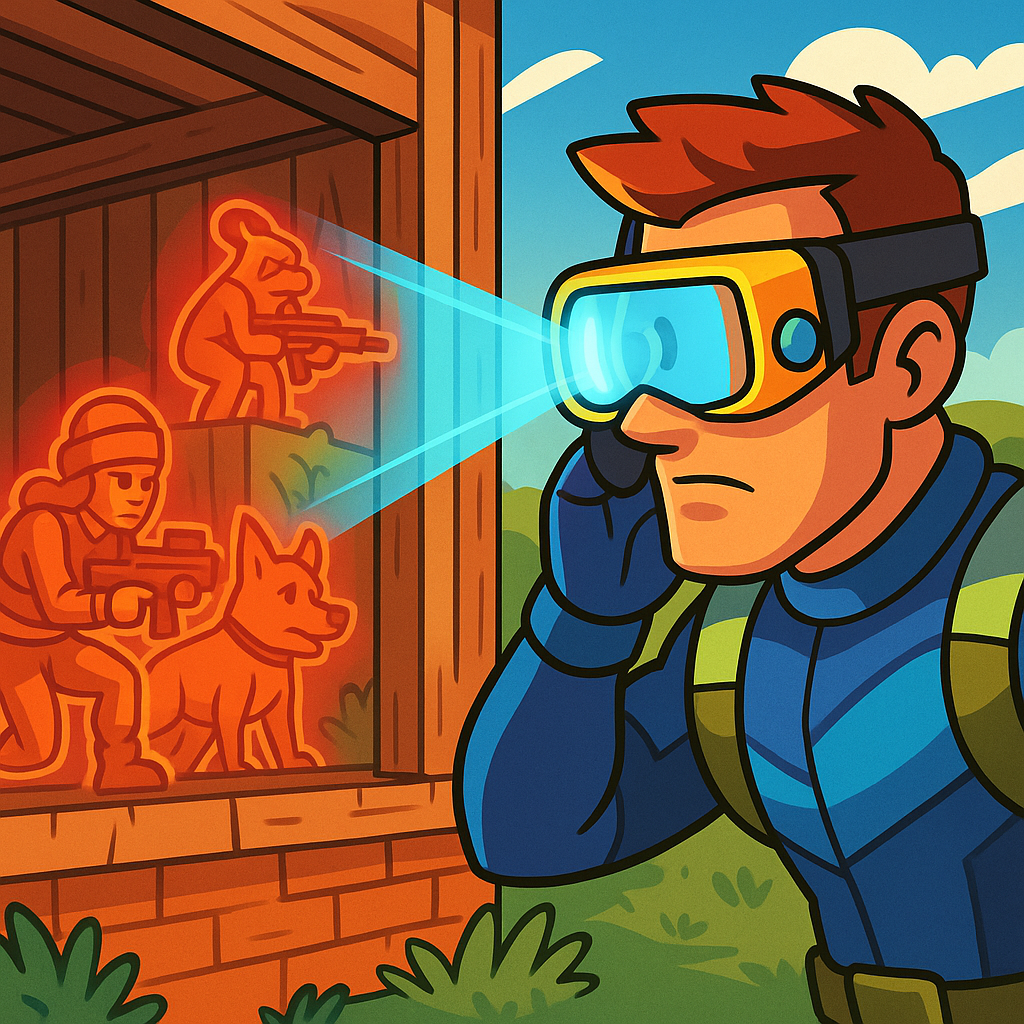
🔭 3. Vision is Power
The player who sees more, wins more.
- Scan Before You Move: Before rotating from a safe spot, take a moment to scan ridge lines, rooftops, and obvious sniper nests.
- Third-Party Potential: Know where other fights are happening. You don’t want to be the third party; you want to use the third party.
- Zone Timing Awareness: Move early to safe spots with a good overview. Late rotates often force you into low ground or bad angles.
This doesn’t mean standing still for minutes on end—it means being aware as you move. Zero Build punishes tunnel vision.
🧭 4. Know the Rotation Grid
Each chapter’s map develops “soft zones”—predictable routes players take from drop to circle. Learning these patterns is like memorizing a waltz:
- Mid-Game Movement: Players often rotate diagonally from the edge of the storm to the next zone—cut those angles and gatekeep with ease.
- Storm Positioning: Let others panic in the open. You, however, will already be perched on a ridge with vision on two key valleys and a plan.
Some rotations seem safe but funnel players through chokepoints. Learn these, and they become your hunting grounds.
🛠 5. Tools That Enhance Positioning
Zero Build rewards players who pack for precision.
- Shockwave Grenades – The nobleman’s emergency reposition. Use to leap into elevation or out of bad fights.
- Bush Bombs – A surprisingly strong mobility and concealment tool. Drop one mid-rotation to buy time and scan.
- Port-A-Bunkers – Instant micro-fortresses. Best used to hold off pressure while rotating to better ground—not to bunker up forever.
Rotate with intention, not with desperation.
⚠ Common Positional Mistakes (And How to Avoid Them)
| Mistake | Consequence | Correction |
|---|---|---|
| Dropping into a low valley | Trapped by angles and third-parties | Circle around elevation |
| Running in open fields | Beamed from all sides | Use trees, rocks, and sprint bursts |
| Taking fights before you’ve scanned | Walk into third-parties | Observe before engaging |
| Moving too late | Forced into poor cover under pressure | Rotate early or flank wide |
🧠 Bonus: Positional Mind Games
The best players manipulate perception. They fight not just with bullets, but with bait, body language, and terrain.
- Footstep Fakes: Walk over crests without peeking to suggest presence.
- “Vacant” Bunker Play: Drop a bunker early, then rotate behind an enemy—they may fixate on your old location.
- Divide & Distract: Fire into a third party to provoke engagement, then rotate to position yourself for cleanup.
Positioning isn’t only about where you are—it’s about where your enemy thinks you are.
🎓 Final Thoughts from the Society
Good positioning is like wearing tailored armor: you don’t think about it until it saves your life.
In Zero Build, every bullet counts, every angle matters, and every movement should be motivated by intent. The player who wins the fight is not always the faster shot—but often the smarter one.
So next time you’re tempted to chase that fight across the field, stop. Breathe. Ask yourself:
“Where should I be before this fight begins?”
And then go there.
– The Curators of The Fortnite Society
“Where survival is not a scramble, but a strategy.”