“A refined loadout is not simply what you carry, but why you carry it.”
“To arm oneself is to reveal one’s mind.”
— On War, Carl von Clausewitz“Those skilled in warfare subdue enemies without battle.”
— The Art of War, Sun Tzu
In the grand halls of The Fortnite Society, we speak often of movement, terrain, and timing—but none of these matter if your loadout is a mess of mismatched intentions.
In Zero Build, the right gear doesn’t just help you survive—it defines your style, controls your options, and allows you to command the match on your own terms.
This post is a curated guide to Loadout Optimization—the noble practice of selecting the finest tools for your tactics in a world where no ramp will save you, and every inventory slot must earn its keep.
🎯 What Makes a Loadout “Optimized” in Zero Build?
In Build Mode, you can carry with indulgence. If you lack range, build to close the distance. If you lack cover, build it.
But in Zero Build, every item must:
- Cover a combat range (Close, Mid, or Long)
- Enable control of movement or defense
- Complement your overall engagement strategy
A refined loadout answers five questions:
- How do I open a fight?
- How do I disengage if I must?
- What range do I dominate?
- What healing do I rely on?
- What gives me advantage in panic?
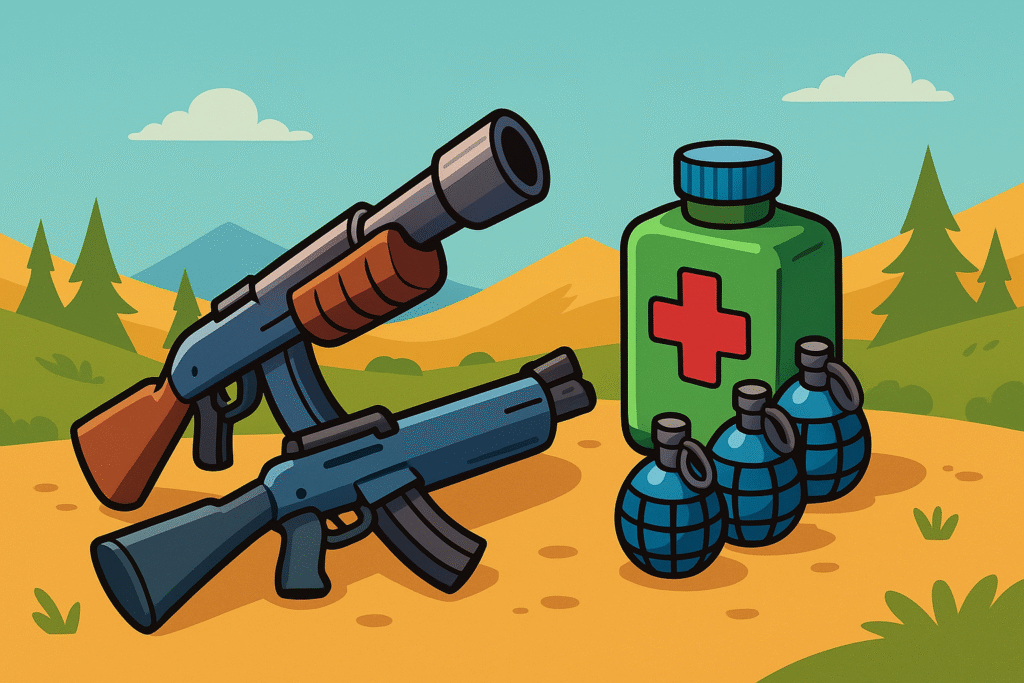
🧳 The Core Loadout Structure
While variations exist, most optimal Zero Build loadouts follow this structure:
- Slot 1: Primary Weapon (Close/Mid)
- Slot 2: Secondary Weapon or Support
- Slot 3: Mobility or Utility
- Slot 4: Healing (Small/Stackable)
- Slot 5: Healing (Large or Emergency)
Let’s break down each category and how to combine them like a tactician—not a hoarder.
🔫 Primary Weapons – The Workhorses
Your primary weapon must feel like an extension of your hand. It should be the tool you rely on in 70% of encounters.
Top Choices:
- Havoc Pump / Thunder Shotgun – For aggressive players who control distance.
- Hammer AR / Red-Eye Rifle – For disciplined aimers who thrive at mid-range.
- Combat SMG / Twin Mag SMG – High output for control players who pressure often.
Tactical Tip:
Pair shotguns with mobility to close gaps. Pair ARs with peeking and vision tools like Bunkers or Bushes.
🎯 Secondary Weapons – Range, Versatility, or Finishing Power
This slot adjusts based on your primary.
- DMR / Scoped AR – Long-range threat for Red-Eye carriers.
- SMG – For shotgun mains who need follow-up pressure.
- Explosives / Grenades – To flush bunkers or create panic during endgame.
Historical Parallel:
Like a Roman legionary pairing a gladius with a pilum, your second weapon is not just a backup—it enables the kill.
🚀 Mobility & Utility – Your Life Insurance Policy
Mobility separates survivors from spectators.
Essential Mobility Options:
- Shockwave Grenades – Unrivaled for disengage or aggressive entry.
- Kinetic Blade / ODM Gear – Map traversal, height play, flank resets.
- Bush Bomb / Bunker – Defensive utility when you lack movement.
The Society’s Loadout Law:
If you’re carrying two guns and zero movement, you are betting the match on perfect positioning. Most cannot afford that gamble.
🧪 Healing – The Forgotten Art of Recovery
Healing wins more matches than raw firepower ever will.
Efficient Healing Setup:
- Slot 4: Minis or Slurp Juice – Fast and repeatable.
- Slot 5: Med-Mist / Shield Bubbles / Chug Splash – Mid-fight or team support.
Loadout Wisdom:
Minis are the standard. Med-Mist is solo gold. Chug Splash is team platinum.
Do not carry two long-use heals unless you’re playing for storm survival.
🧠 Loadout Archetypes by Playstyle
Below are sample loadouts curated by tactical intent—use them not as rules, but as refined templates.
🐺 The Aggressive Duelist
“Strike first. Strike last.”
- Havoc Pump / Thunder Shotgun
- Twin Mag SMG
- Shockwave Grenades
- Minis
- Med-Mist / Slurp Juice
For players who isolate and finish fights quickly. Relies on quick damage and clean resets.
🛡️ The Defensive Controller
“Hold ground, force mistakes.”
- Red-Eye Rifle
- Combat SMG
- Bush Bomb or Port-a-Bunker
- Minis
- Chug Splash
Great for players who out-position and gatekeep rotations. Rewards map knowledge.
🦊 The Opportunist (Third-Party Specialist)
“Observe. Pounce. Disappear.”
- Hammer AR or DMR
- Grenades or Shockwave Bow
- Shockwaves
- Slurp Juice
- Minis
High mobility and burst damage. Great for mid-game elimination farming and strategic resets.
🧙 The Endgame Ghost
“Live longer than the storm.”
- Combat Shotgun / Hammer AR
- Med-Mist
- Bush Bomb
- Minis
- Chug Cannon / Extra Utility
Plays edge-of-zone, avoids early fights, rotates wide, and thrives in final circles. Excels at surviving chaos.
🪙 Inventory Tradecraft: When to Drop What
Throughout a match, your loadout should evolve. Good players know when to pivot:
- Drop second gun if healing is scarce.
- Replace long-range weapon late-game.
- Swap mobility types based on terrain.
“Flexibility is the heart of victory.” — On Protracted War, Mao Zedong
A player who adapts survives. One who hoards attachments to a single weapon loadout perishes poetically—but prematurely.
🎓 Final Society Advice: Loadouts Win the Fight Before It Begins
The battlefield favors the well-prepared, not the over-equipped.
In Zero Build, loadout optimization is not a stat screen—it is a statement of who you are:
- The pouncer.
- The observer.
- The survivor.
- The commander.
Each slot is a decision.
Each item a tactic.
Each combination, a silent plan whispered between you and the match.
Choose wisely. Carry confidently. And may your next engagement begin with you ready—not just reacting.
—
– The Curators of The Fortnite Society
“Where inventory is not excess, but elegance.”